|
Taking
the Bacon Plunge!
|
Can you say "Bacon"?!? (I knew you could!)
After spending the summer and fall reading bacon threads
and seeing bacon pictures, the time has come to take the
Bacon Plunge!
I stopped by RD and picked up a case of skinless pork
bellies. For those of you who may be wondering, a case of
bellies contains three cryovac packages, each containing
one belly and weighing approximately 9-10 pounds. The case
I bought was just over 30 pounds and the meat was frozen.
Each belly was folded over in the cryo for packaging.
Unfolded they were about 20-22 inches long and about 9
inches wide. I could see that cutting them in half would
make the resulting 11 x 9 slabs much easier to work with.
|

|
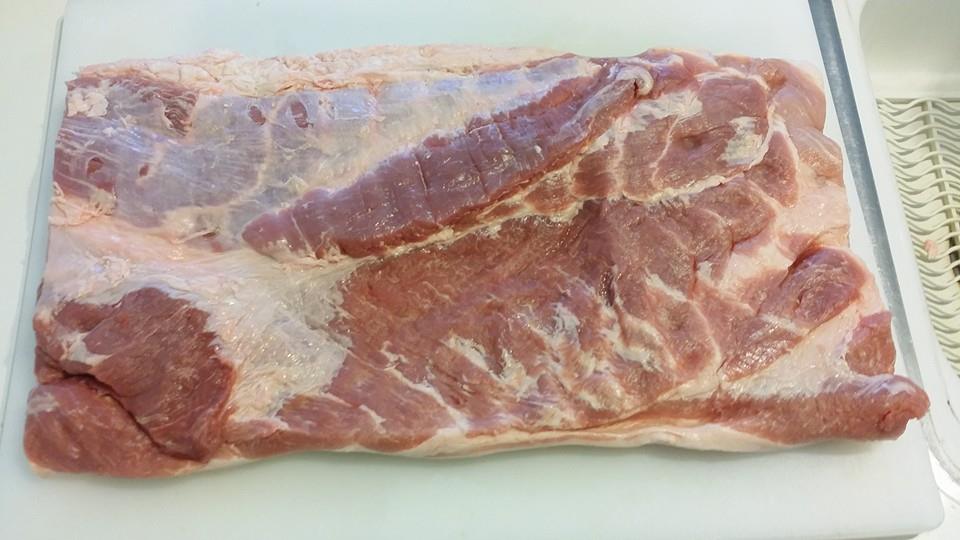
We
opened up each package, dried the surface with paper
towels and spread out on the cutting board. We cleaned up
the ragged ends on each of them but waited to clean up the
long edges until we had cut the whole bellies down to the
sizes we wanted for our individual slabs. We lost about an
inch from each end.
|
|
For
the first belly, we decided to do a Brown Sugar &
Black Pepper cure. We started by cutting the belly into
two sections, each being about 9" x 9" square.
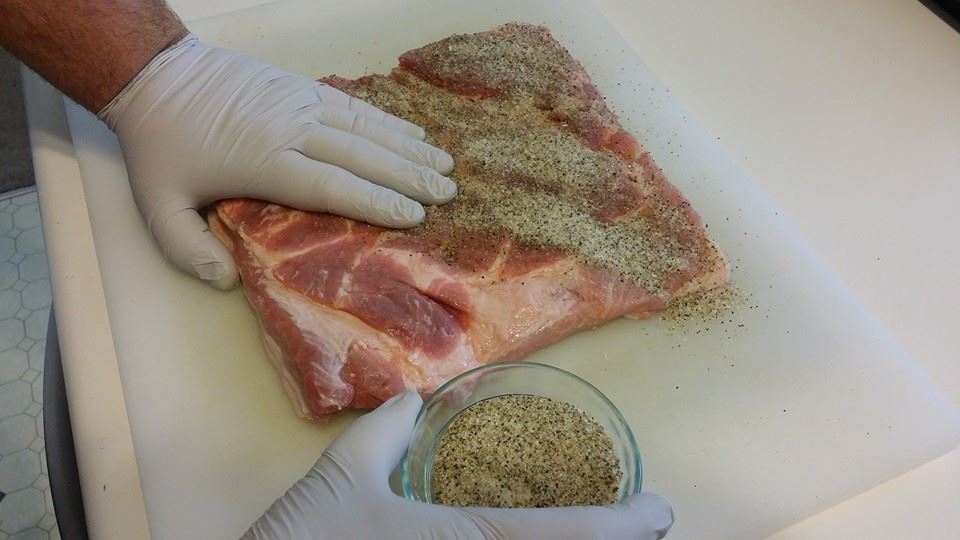
We found some great information online regarding the
formula for making the basic cure, whose components are
Salt, Sugar & Curing Salt also known as Pink Salt or
Cure #1. We weighed each of the slabs, applied the formula
and then weighed out the basic cure based upon the weight
of the slab. We then mixed the brown sugar, black pepper
and other seasonings into the basic cure. That mixture was
then rubbed into all sides of the meat.
|
|
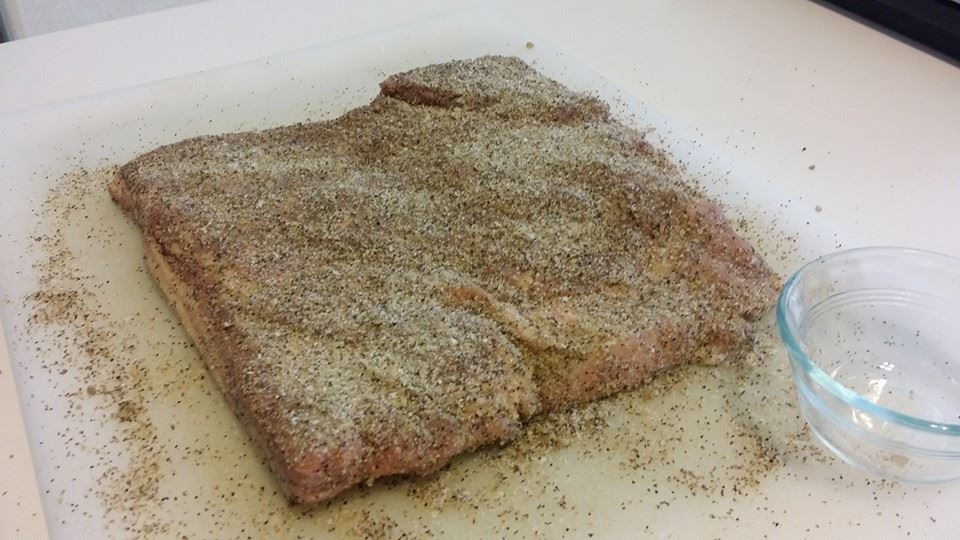
This
is how one of those slabs looked when all of the cure
mixture had been applied.
|
|
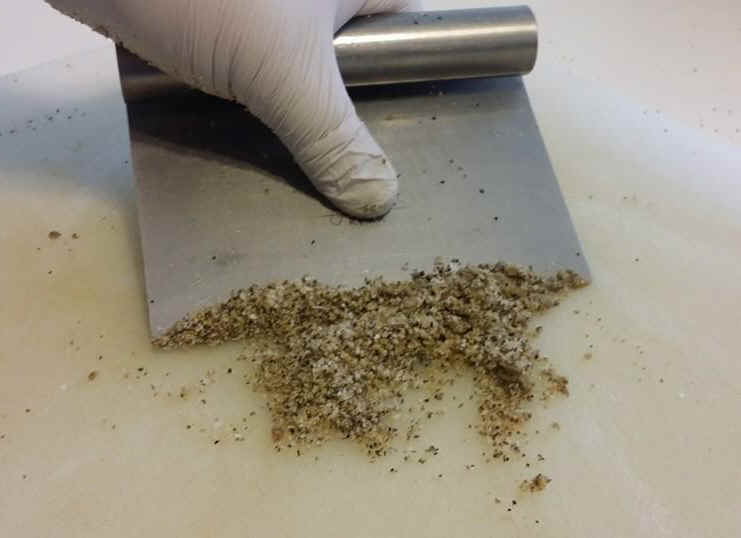
Since
the formula for curing is pretty precise, we used a dough
scraper to gather up the cure left on the board and get it
all onto the meat. As you can see, quite a bit would have
been left behind.
|
|
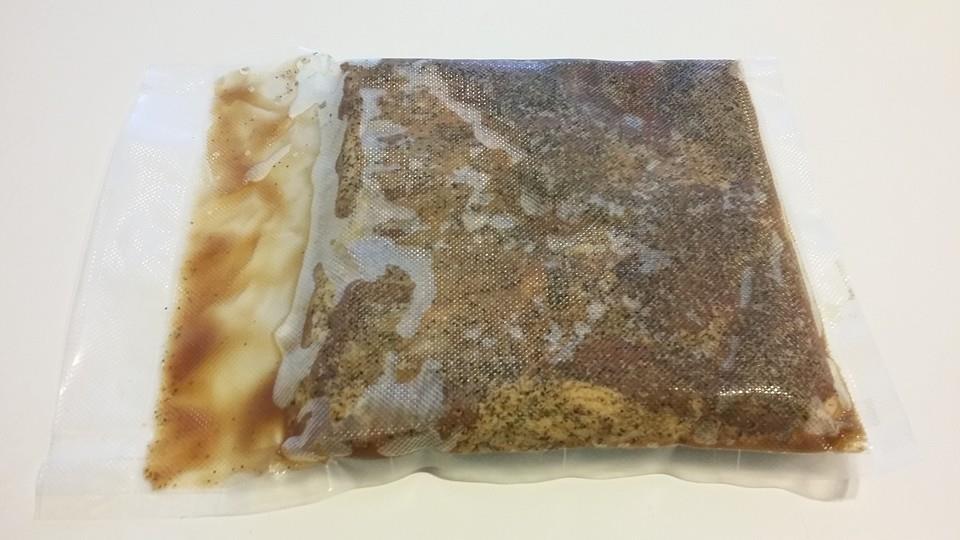
The
next step was to place the slab into a vacuum bag and seal
it up. We removed most of the air from the bag but didn't
try to pull a vacuum on it. We left some room for moisture
to accumulate once the cure begins to draw it out of the
slab.
|

|
About
halfway through the curing process and liquid was being
drawn out of the bellies. A few more days of curing and
then on to the pellicle formation and cold smoking
processes!
|
|
We
ran a 6-day cure on the first batch of bellies and then
removed them from the bags, rinsed them thoroughly under
cold running water and patted them dry with paper towels.
We then placed them on wire racks within sheet pans and
placed the sheet pans in the refrigerator overnight to
allow ample time for the pellicle to form.
Then, the cold smoking process. The first thing to
do was to set up the 22" WSM. We used an empty but
foiled pan to catch anything that may drip out of the meat
and the bottom cooking grate was in place as a safety net
in the event of a catastrophe. The last step was to put
the Weber Smoking Rack in place.
|

|
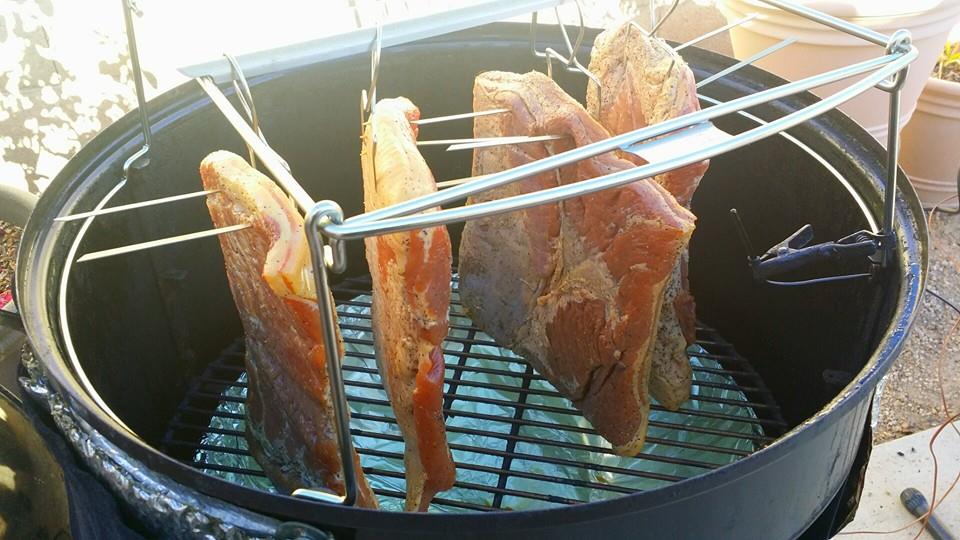
How
to hang the bacon was always a question. A package of Raft
Skewers from Home Depot (about $6.00) was the answer. All
we had to do was put a strategic bend into each of them.
|

|
If
you recall, these bellies were skinless so the modified
Raft Skewers easily pierced through the fat cap and slid
right through.
|

|
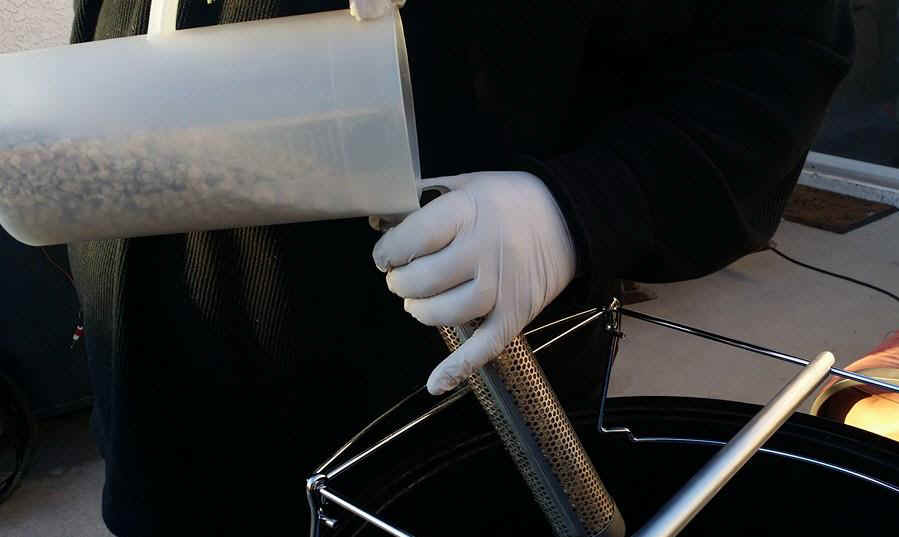
Once
outside, it was time to load up the 12" A-MAZE-N
tube. We decided to be conservative and use a fruit wood
instead of something like hickory to help avoid over
smoking the meat. We used Green Mountain Grills Premium
Fruitwood Blend which is actually a blend of cherry, beech
and pecan. Using a pitcher was a very easy way to load the
tube.
|
|
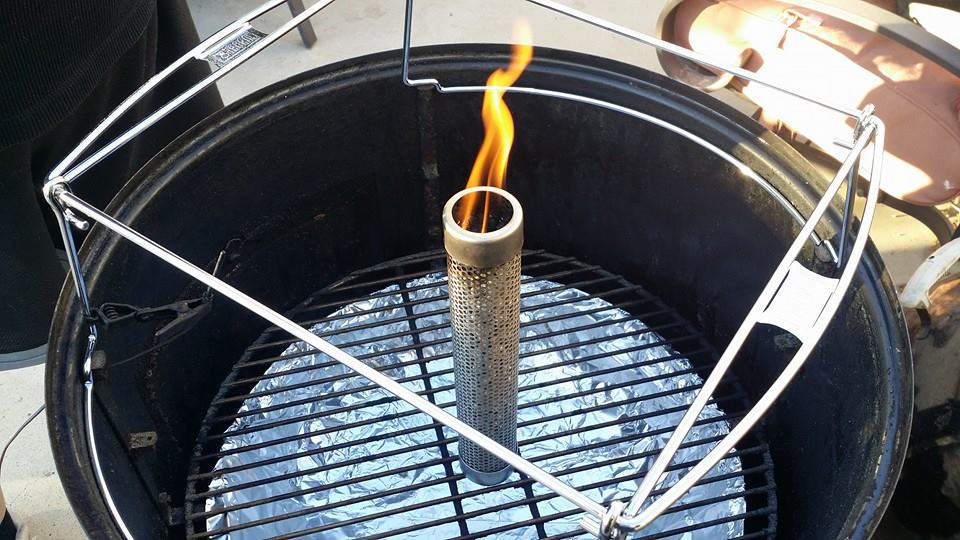
We
lit the pellets with a small propane torch and let it burn
for about 10 minutes...
|
|
...before
placing it on the charcoal grate at the bottom of the
smoker.
|
|
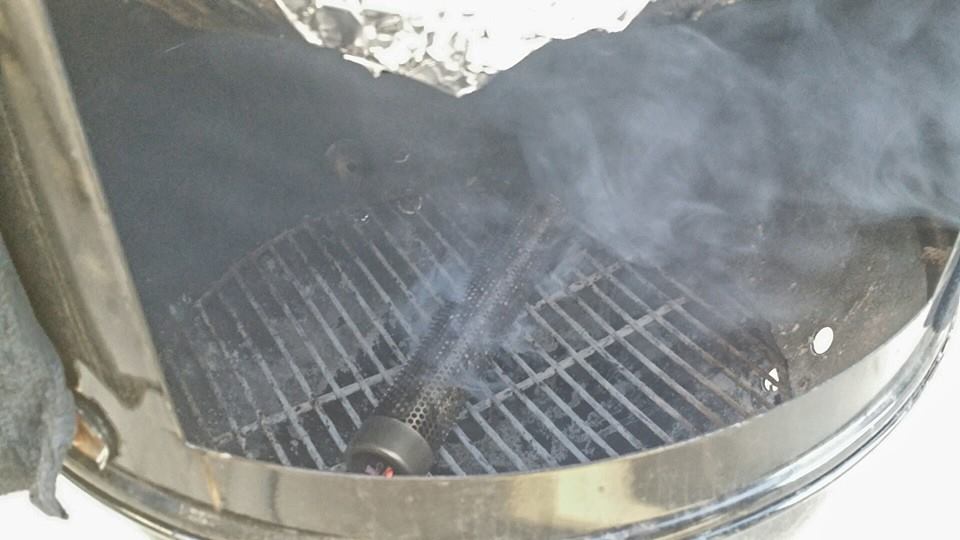
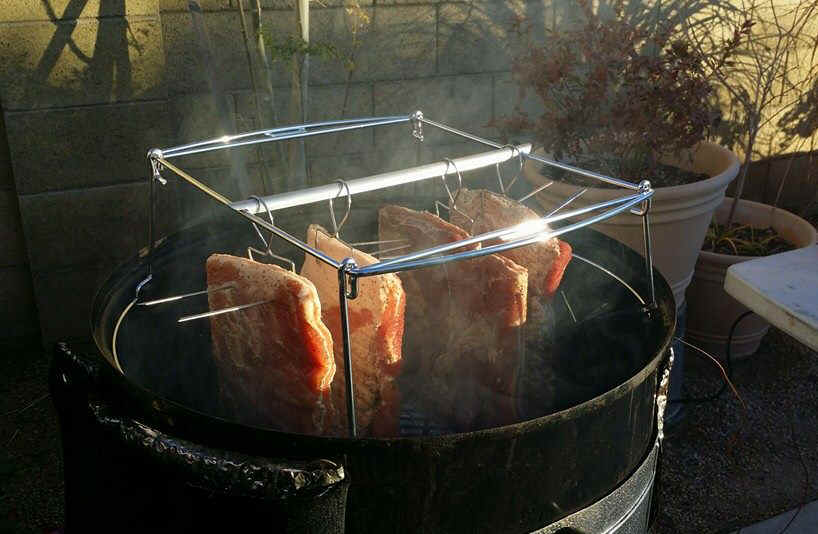
We
hung the meat on the smoking rack and then watched the
smoke begin to rise before putting the lid in place!
|
|
The
12" A-MAZE-N tube will burn for about 4 hours and
this is what the meat looked like when it was time to
reload with another round of pellets. It was a cool day
here in Phoenix and the cooker never got any hotter than
90°F and spent most of the time running between 75°F -
80°F. We ran the cooker with all of the bottom vents open
and the top vent wide open as well.
|
|
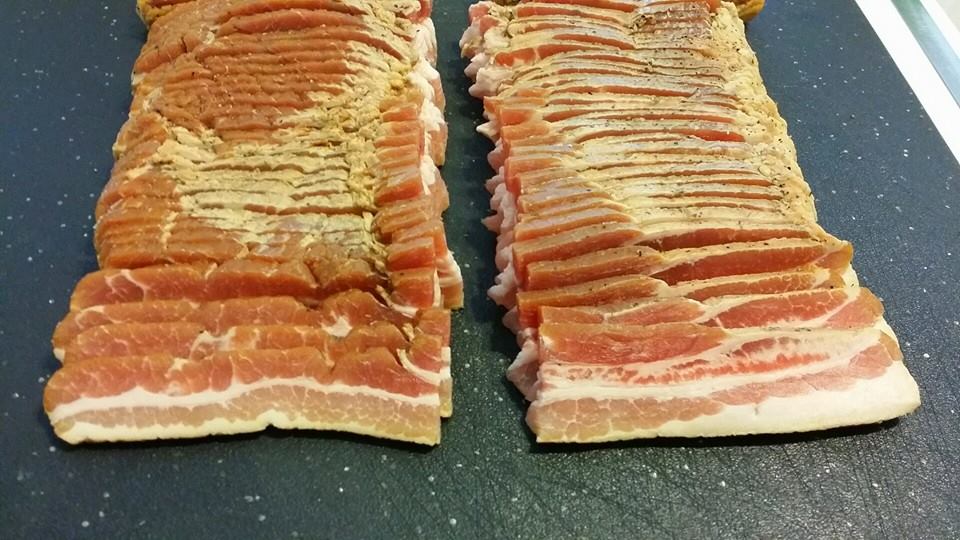
At
the 8 hour mark, we pulled off a couple of the slabs and
cut a slices off to test. Don't waste your time taste
testing the very end slice as it will be very, very smokey
and not a good representation of just how much smoke the
meat took (although it's awesome for flavoring other
dishes!). We liked where they were so we pulled them off,
wrapped them in plastic and refrigerated them overnight to
allow them to firm up. In the morning, we pulled out the
slabs to slice and test. We were slicing by hand with a
Forschner granton edge slicer and quickly learned that
cutting the slab in half first made slicing evenly much
easier.
|
|
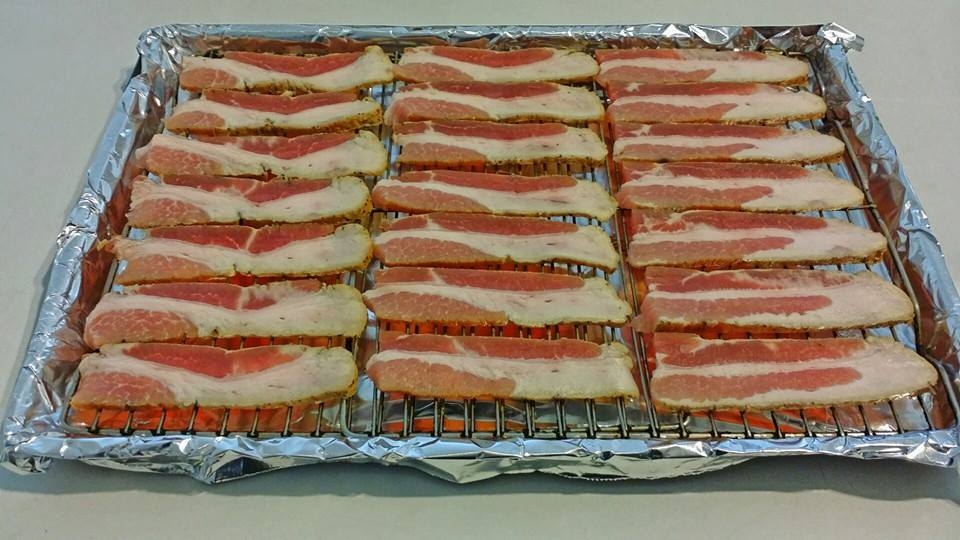
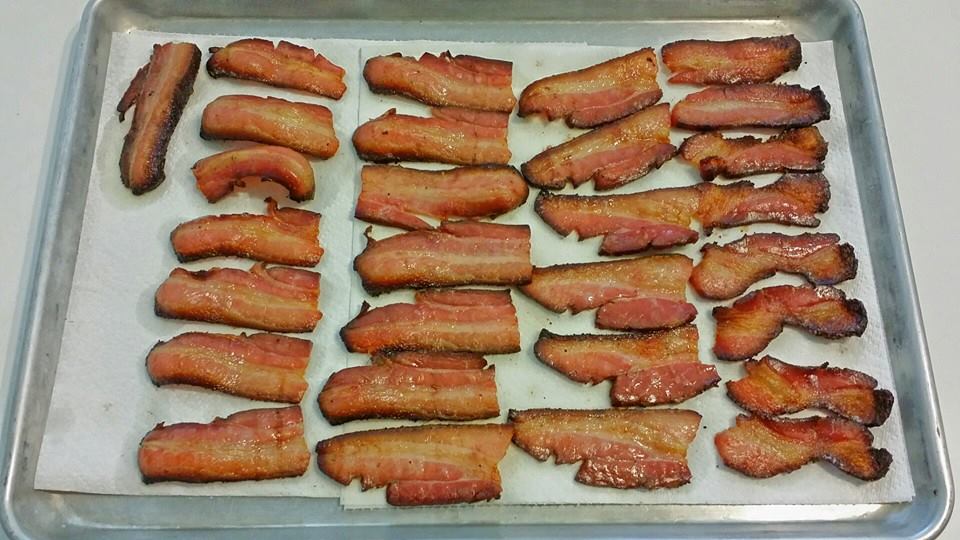
Time
to cook! We like to use the oven when cooking bacon so we
arranged some slices on a wire rack placed inside a baking
sheet and cooked the bacon at 350°F for about 18 minutes.
|
|
The
end result. And, yes, it tastes as good as it looks!
|
 |
|
So,
what did we learn?
Well, the first thing we learned is that we did allow the
meat to spend too much time in the smoker. We think it
would have been much better after just 4 hours and that is
where we'll do our first test slices when we run the next
batch. The other thing we're going to do is attach a 5 cfm
fan to the smoker and run it continuously during the
smoking process to increase the airflow. We think the
tight confines of the WSM and the slow, natural airflow
may have allowed the smoke to linger too long in the
cooker and that increased airflow will help. These slices
were not full-on bitter but you could tell they were a bit
over smoked.
Overall, not a bad first effort.
|